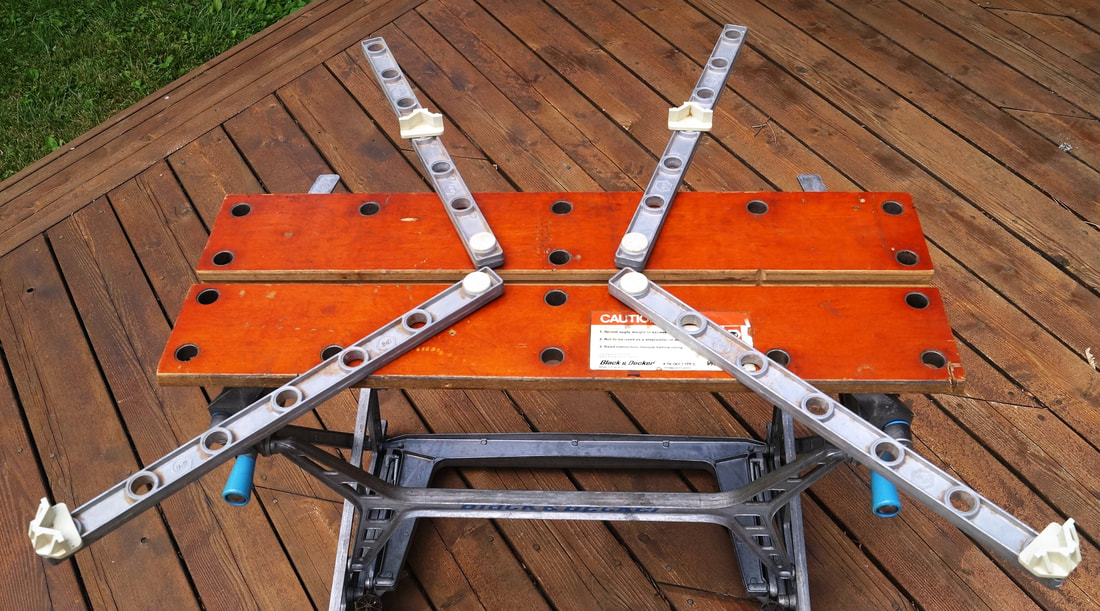
I've trimmed up and drilled the new rear jaw, and had a trial fitment.
View attachment 13444
It will be removed and the old jaw replaced for now, as I need the Workmate functional to make the new front jaw. That will also give me time to sand it a bit and give a few coats to harden up the surface. There will also be a few screws in from underneath, to augment the glue between the two panels of the jaw.
I have a good few of the B&D plastic dogs, so the extra rows of holes will be useful - and I have a couple of the over-centre clamps, too.
I suppose that it's reasonable that they don't expect you to want to remove and replace the jaws, but the rear one, in particular, is bordering on a circus act to get all the bolts in at the same time - you really need the assistance of a few left-handed, double-jointed midgets. The front one should be a lot easier, as it doesn't need to allow for the 'tapering' movement.
I've also made a nice bit of fire-starting tinder - about two litres of wood shavings...
 got me some principles! Good tip about the pop bottle lid!